
Learning how to make homemade sourdough bread was our COVID project. There was little if no bread at our grocery stores during COVID, and no baker’s yeast on the shelves to do easy bread recipes. So we started our journey to create our own sourdough culture and bread making.
We watched every YouTube video, read books (the Tartine Bread cookbook by Chad Robertson is our all-time favorite). We did lots of science studies on starters, time in the oven, proofing – and had lots of early failures. Luckily we had a lot of neighbors who were willing to take our rejects.
Now our followers have the advantage of learning from our mistakes.
Sourdough Starter
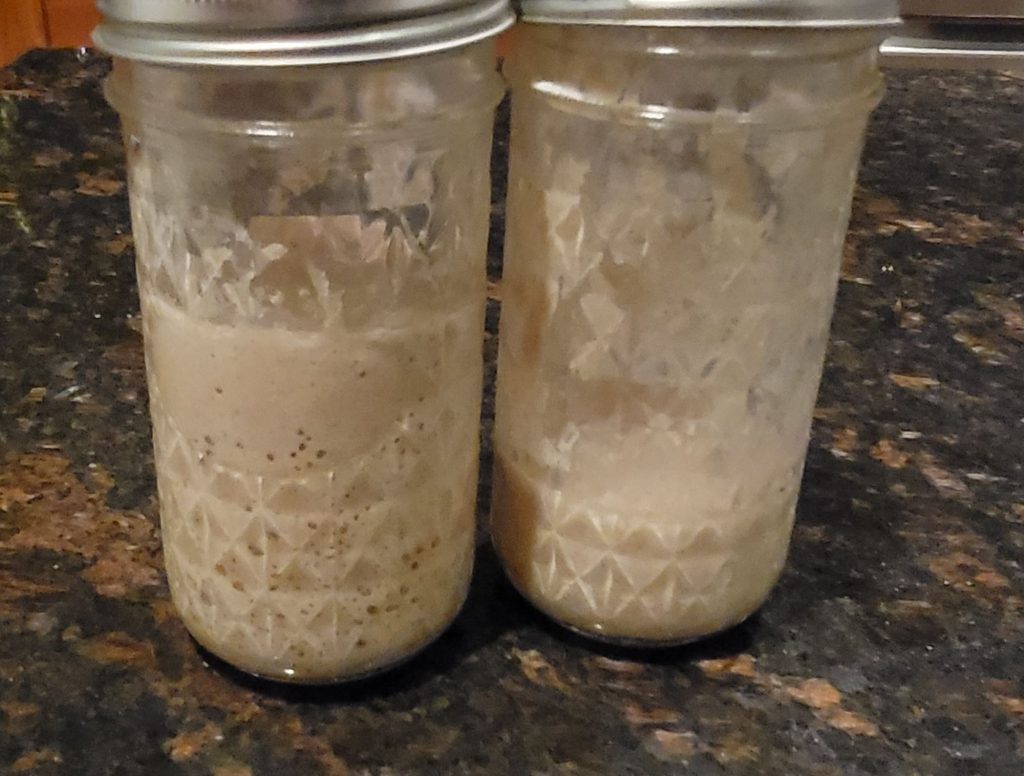
Left – active starter 8 hour room temperature. Right – dormant starter out of the fridge.
While sourdough starters are simple in concept, finding the right mix of flour and water was challenging. A sourdough starter is a mixture of flour, water, wild yeasts, and bacteria that turns into the magic that will leaven breads and grains. We used a lot of flour mixtures, ratios of different flours, and came up with the same one found in Chad Robertson’s book: our favorite, most consistent starter is a 50/50 mixture of bread flour and whole wheat flour at 100% hydration (that is, for every 100 grams of flour you have 100 grams of water). We feed the starter at least once per week (25 grams bread flour, 25 grams whole wheat flour, 50 grams water, 10 grams of the original starter). The starter will keep somewhat dormant in the refrigerator for a week or two – then nasty bacteria take over, breaking down the starch structure into acetic acid. If your starter is smelling like vinegar, you can revitalize it by doing 4 feeds over 2 days.
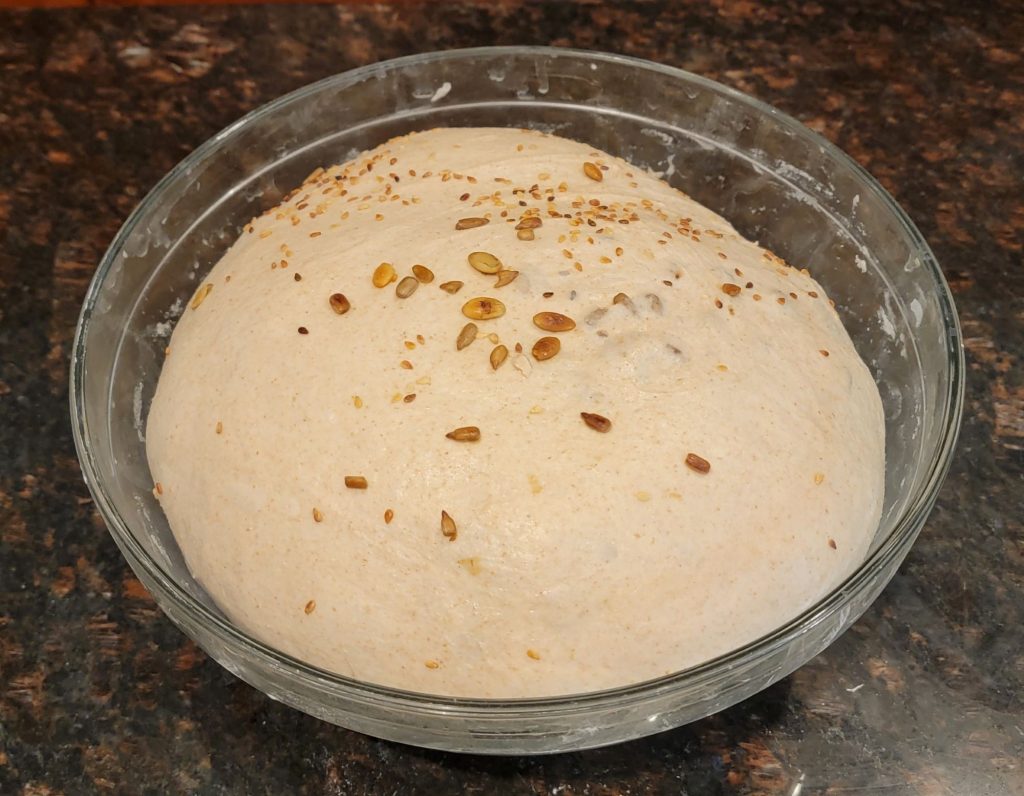
You will need to feed your starter 4-12 hours before starting the bread making process. We typically feed at night, so the culture is ready in the morning (See picture above). It is active and bubbly, and passes the “float” test. Take small amount of starter and place it in a cup of water. If it floats, it is ready to use for bread.
Sourdough Discard
This is the amount of starter that is removed from the sourdough starter before feeding. You can toss it or use it for many wonderful sourdough discard recipes, such as English muffins, pizza, crackers/flatbread, pancakes, etc. Check out the recipes by Lisa Bass on Farmhouse on Boone for a bunch of great recipes, or You Knead Sourdough.
So, don’t actually discard – find recipes to use the wonderful tangy extra starter.
Ingredients & Kitchen Tools You’ll Need
 It’s not necessary to buy everything you’ll need all at once, but there are some basic items:
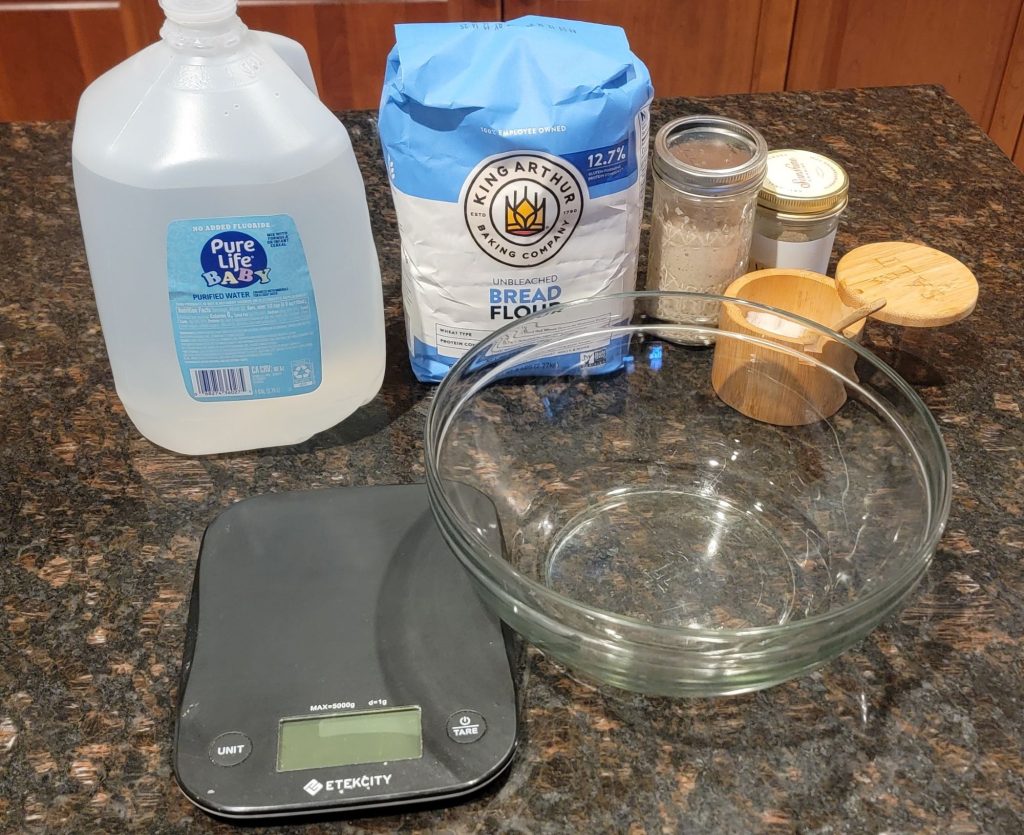
- Good ingredients. There are only a few ingredients for basic sourdough bread: water, bread flour, salt, starter (and maybe some yeast). So, don’t skimp on the flour. Buy the good stuff. And buy a gallon of pure water – tap water can kill yeast (I know – I’ve done it).
- A large clear glass bowl. You can use metal, but it’s hard to see what’s going on with your dough as it is being transformed.
- A bench scraper or bread scraper. We like to use plastic or silicone.
- A silicone spatula. Do not use wood, or a cheap plastic spatula. The dough will stick to the wood, and a lot of plastic spatulas.
- Kitchen scale or measuring cups. Weighing baking ingredients is always more accurate than measuring volume with cups/spoons. But our recipe gives you both.
- Banneton. You can rig up a pseudo-banneton using a basket and kitchen towels – but you can find inexpensive bannetons on Amazon.
- Dutch oven. If we are making bread at home (and not in a professional bread oven), then a Dutch oven is the only way to go. You can find inexpensive versions, such as a cast iron Dutch oven.
- Parchment paper. No good substitute here.
- Razor blade. This is for “scoring” your bread before baking. It’s a necessary step, and it’s fun and decorative.
Important Points to Remember
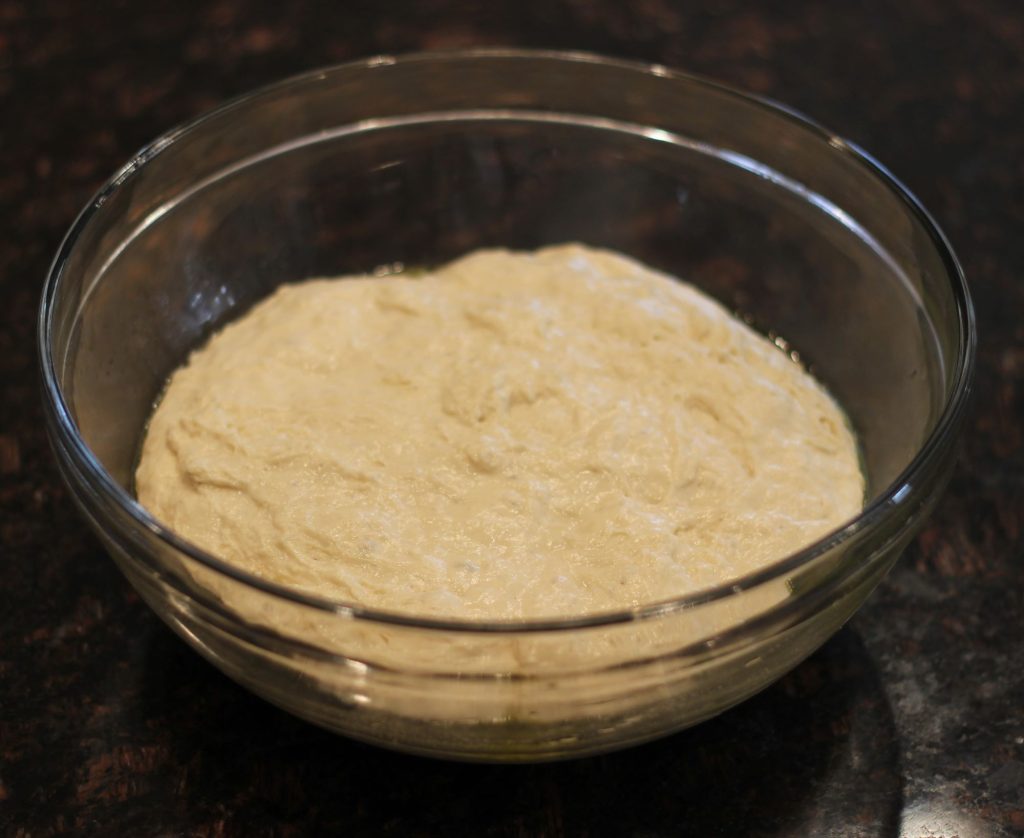
Sourdough in autolyze state
- The dough may seem dry when it is first coming together. Resist adding more water. You need to let the dough rest for at least 1 hour after mixing – this process is called autolyze, where the starch granules slowly become fully hydrated This will give you an easier-to-stretch dough, and better flavor.
- After autolyze, the dough might seem too sticky (see above picture). Don’t worry – just get through the stretch and fold process.
- Use wet hands during the stretching and folding.
- The amount of time it takes for your dough to double can be determined by many environmental factors, such as the temperature in your home, the maturity of your starter, and the hydration status of the loaf. This is where some trial and error is necessary. We’re giving you a recipe that works for us in Florida, and may not work well where you live.
- The most accurate way to create consistent results is by using a kitchen scale, and keep careful notes. We still write down everything we do on every batch. When we make a change, or the environment demands a change (hot, muggy summer months are challenging), we document the changes.
Stretch & Fold – A Simple Technique to Master
There was a time when everyone used “hard” kneading for making bread. Then someone found that stretching & folding dough gave a better “crumb” (the air pockets in between). There is no one way of using the stretch & fold technique, so it’s best to look at a few YouTube video. Here’s one that’s closest to how we do stretch & fold:
Is My Dough Proofed Enough?
Properly proofed sourdough
This may be the most difficult step for the beginner, but here’s a few thoughts:
- The dough will be noticeably increased in size – more than double the volume before bulk fermentation starts.
- The dough will appear puffy, with visible air bubbles on the surface
- The dough will be slightly “jiggly” when gently moved.
- When poked with a finger, the indentation should slowly spring back, indicating it’s ready to shape and bake
This is a great video on the visual clues of proofed sourdough bread:
Ingredients
- 8 ounces extra firm tofu It is important to use extra firm
- 2 tablespoons corn starch
- 2 tablespoons neutral vegetable oil We use grapeseed oil
- 2 scallion Sliced, on a bias
- 1/2 medium Sweet onion Julienne sliced
- 3 cups Vegetables We used snow peas, shredded carrots, and broccolini
- 1 bottle Serious Foodie Tamarillo Grill Sauce Go to shop.serious-foodie.devsquad.tech to order
- Salt and Pepper To taste
Instructions
- Pat dry both sides of the steak. Liberally season the steak with the Serious Foodie Seattle Espresso Rub. Wrap the seasoned flank steak tightly with plastic wrap, and refrigerate for at least 2 hours, or overnight. Sthe sauce over medium heat until it is reduced by one half. Add the mustard, rosemary, . Cook on low heat until the sauce is thick.
- Remove the steak from the refrigerator at least 30 minutes before cooking; pre-heat a gas or charcoal grill.
- To make the sauce: add the olive oil to a sauce pan, and heat over medium. Add the minced garlic, and saute until fragrant, about 60 to 90 seconds. Immediately add the wine and soy sauce, and reduce by 1/2 (about 5 minutes). Stir in the Dijon mustard, rosemary, brown sugar, and optional cayenne pepper. Simmer until desired thickness is achieved.
- Place the steak on the grill, and cook to desired doneness - about 6 minutes per side for rare. It's best not to over-cook flank steak.
- Transfer the steak to a plate, and let stand for 5 minutes before carving. Cut the steak across the grain, and serve with the sauce and the optional arugula fennel salad - see https://serious-foodie.devsquad.tech/versatile-vinaigrettes/
Notes
Buy These, and Our Other Fine Serious Foodie Products On-Line